Friday, June 17, 2011

Faux Porcelain Birds

My daughter's room has a bird theme.  I made a quilt to mimic one from pottery barn kids, that I'll show you another time, and I painted 3 little canvases for wall, all with a bird theme.  I've been wanting to find fat little birds for a long time to accessorize but haven't had any luck.  Yesterday at dollar tree, what did I happen to see but fat little birds!  Yes they are ugly but not so bad that my favorite spray paint won't help!
 My spray painting technique is that I plant myself in the grass and just turn the cardboard they are on so I'm down low enough to get every side,.
 After one full rotation.
 I think I ended up giving them about 3-4 coats of spray paint to get the look I wanted. 
 It was a little tricky getting into all the little nooks and crannies, but I love how they turned out.
The best part is that they look like porcelain! 
(I'm also planning a baby shower in a few months and these will be PERFECT!!!)

Wednesday, June 15, 2011

Sick of red

I haven't posted for a few days because Friday was the last day of school and I've been enjoying spending time with all my little ones.

I had a bunch of other projects that I needed to post, but I developed an itchy spray paint finger and decided to paint my front door!

Here is what my front door looked like Monday morning...
 Brick red, and pretty blah with a few scratches mixed in.
I was tired of the red, especially since when the door is open...it only matches with my decor at Christmastime. Time for a MAKEOVER! I taped it all off then tried to take it off the hinges...couldn't.  So I decided I could spray paint it anyway!  What color did I choose???
TURQUOISE!
 I used my trusty cardboard box that I've been using lately to spray paint things on the front lawn, and it worked wonderfully for this little trick.  I held it up next to the edge of the door so that it wouldn't overspray on anything else, and it was great!  (I only have a little part to touch up on the trim behind the door.)
 The whole door only took 1 can...I was surprised!  I actually bought the can of spray paint for something else...guess I'll have to go get another one! ;o) 
 When I took off the tape I LOVED IT!!!
This is what my front door looked like Monday mid-morning!
Now I want to paint the door knob silver and add a cute saying in vinyl.
What color is your front door?

Lots o' love,

Megan

Friday, June 10, 2011

I'VE BEEN FEATURED!!!!!!!! and UGLY Stool Re-do

So I was checking my email and Cindy over at Cinsarah said that she featured me on her Favorites Friday post! I checked out her blog and yep...I'VE BEEN FEATURED!!!!  This is so exciting!  THANKS CINDY, for making me feel like a rockstar!  You guys should check out her blog.  It's pretty sweet!

Okay, so here's another project I worked just finished.

Last Wednesday I went thrifting with my new creative friend Amy.  We had such a blast!  Here's what I got for $12!  I love half-price day!
 UGLY stool, (and actually Amy got it first, but it was covered with a pillow that someone tacked on.  When I was taking it in to her apartment for her I told her that it felt like it was a weird shape.  She cut the pillow off and EEEWWWWWW!!! It's got to be the UGLIEST stool I've EVER seen!  We laughed so hard! She didn't want it AT ALL so I gave her the $2 is cost her, and I took it home!)

I also purchased: a wire basket, to hold fruit
2 silver candle holders
1 beautiful pewter single stem vase that I'm not going to alter.  It's perfect as is!
 1 bubble glass serving plate 
1 ugly duckling...more to come on that one.

So the first thing I HAD to do was tackle that stool!
Originally, I wanted to replace the step and paint it all white, but the Hubs suggested staining the top like our floors...I thought about the kids using this stool and how if it was white, it'd get pretty nasty fairly quickly.  Stain it is!  GREAT IDEA!!! THANKS HONEY!!!
I grabbed a hammer and knocked the heart off...(shot to the heart, and you're to blame darling, you give love a bad name)
So much better already!
A little piece that can be fixed easily...
 Put wood glue on the little chip and put it back in place.
 It wouldn't go all the way down, 
 So I grabbed my hammer again and gave it a whack.
 I clamped it in place and let it dry.
 The top may have been flush, but now the bottom wasn't.
 I sanded a little to make it smooth again.
Primed the base.
 Gave it 2 coats of Rust-o-leum Ivory Bisque and the base was finished. 
Now for the step.  I sanded the edges of a scrap piece of oak we had leftover from our floors.
 It happened to fit perfectly!
 I used the same stain as our floors.
 
 Here is the 1st coat.
 This is the 2nd.
 And here is the 3rd...nice and dark!
 Time to attach the step to the base.
 I lined it up evenly
 on both sides.
 I made little pencil marks where the base was on both sides.
 Laid down a little wood glue.
 Lined it back up and nailed it in place. I applied the 1 layer of poly.
 I took it outside to dry. Here is the second coat of poly.
 And here is the 3rd coat.  Isn't it beautiful!
I love how the grain glistens!

That's my kind of makeover!

Lots o' love,

Megan

Thursday, June 9, 2011

Teacher Thank You Gift

Today I made the kids' end of the year, teacher gift.  I read online somewhere that you could get a sandwich gift card and say, "There's no "sub"stitute for you!"  I thought it was too cute, and actually, you can use it for anyone, not just teachers!  I wanted to make a sandwich card for it to go in so here is what I did.

Here's what you'll need:
construction paper
glue stick
scissors
crayons
cutting board (optional, but very helpful)

I cut a 9x12 piece of construction paper in half so it was 9x6.  I folded it in half and then cut it at 3 1/2" to fit the envelope I was using, and to give it a nice long shape.

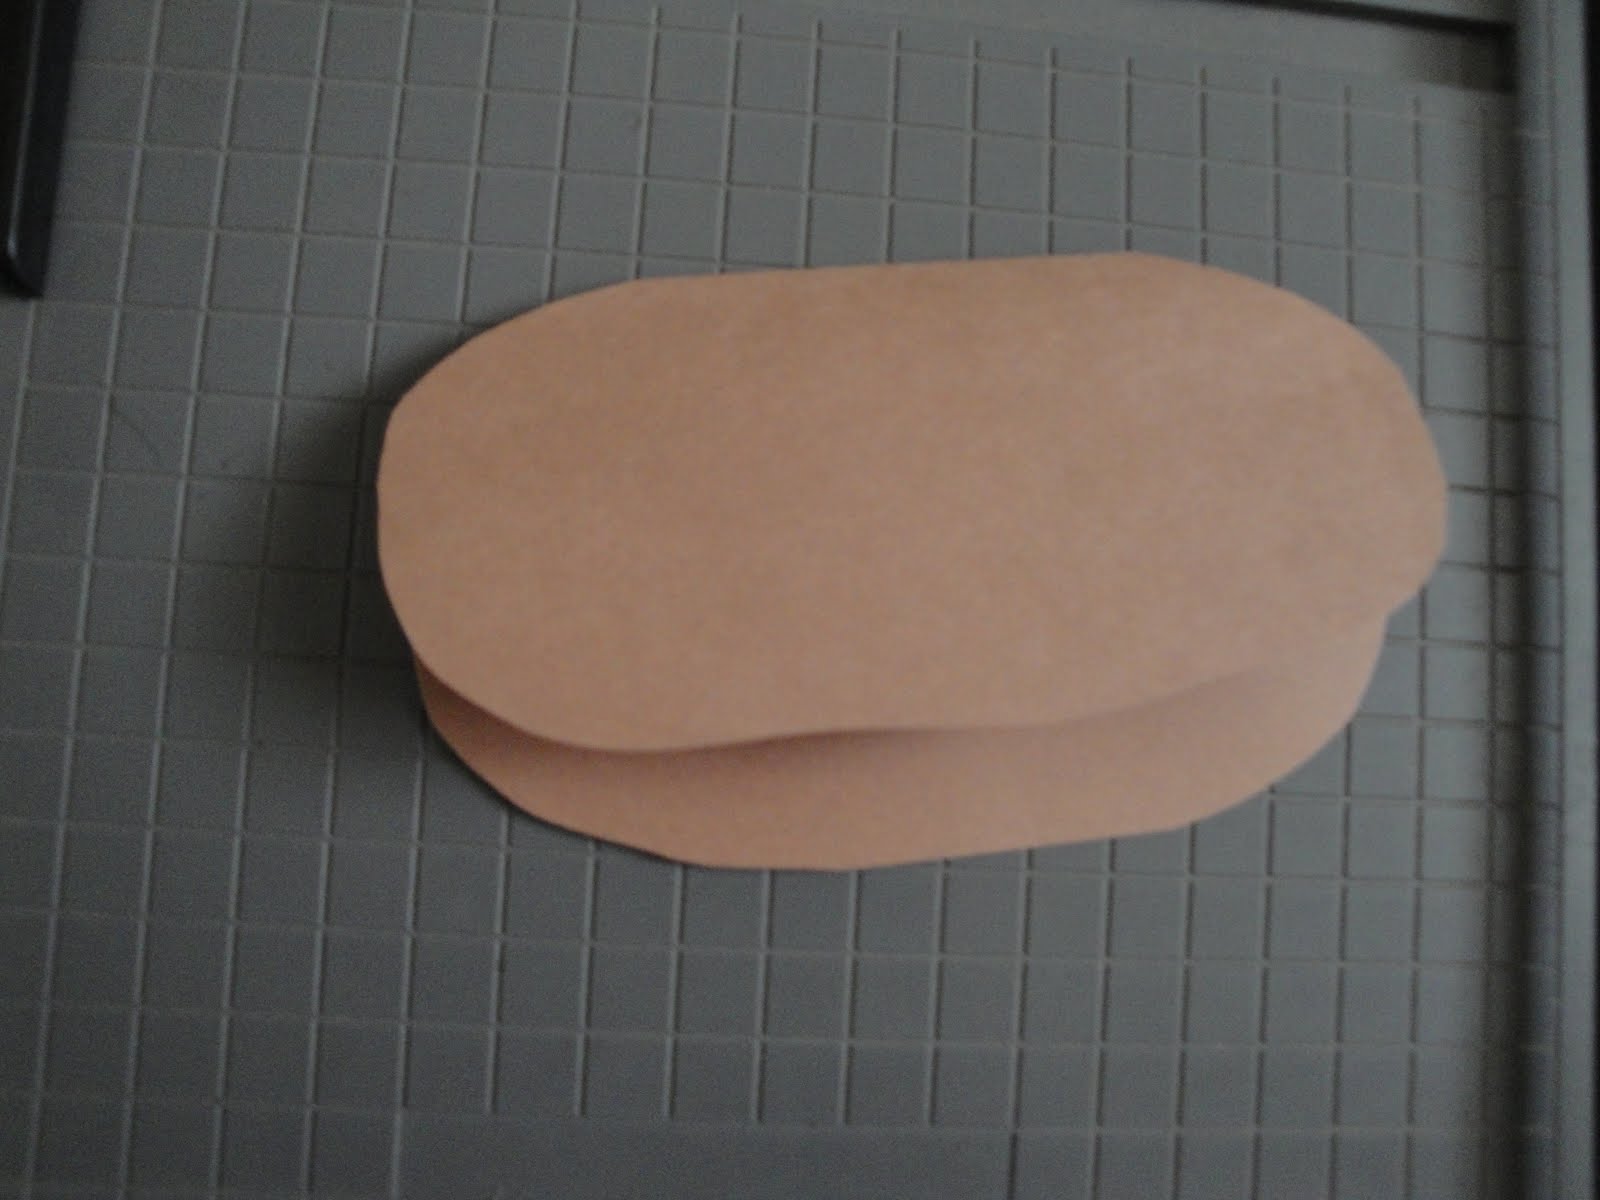
I cut an curvy oval shape leaving the fold intact.
 Cut some lettuce to fit in the sub.
 Put in in the "bread" until you get it how you want.
 Glue it down.
 Cut tomatoes.  I triple folded the paper so I'd get 3 slices per sandwich. (we'll come back to this)
 I decided I wanted to do cheese next.  I cut two slices each of yellow and orange into square-ish shapes and laid them out where I wanted them.
 Now glue the TOP of the bread.
 And fold over so the cheese gets glued to the top of the bread.
 It will look like this when you open it.
 Take a brown crayon and draw some pointy ovals to make it look like yummy bread.
 Open up your sandwich, add your tomato slices and writing.  I wrote in black crayon, "There is no "sub"stitute for a great teacher.  Thanks for everything!"
I had the kids write on the tomato slices: To: Mrs.  So-and-so, LOVE, Joe-mama  ;o) 
I went to Subway and got gift cards to put in the cards.
It was a hit!

What have you done for teacher thank yous?

Lots o' Love,

Megan